Getting Started with Worm Composting | Beginner’s Guide to Vermicomposting
Learn how to start worm composting (vermicomposting) at home. This beginner’s guide covers worm bins, bedding, food scraps, and red wigglers so you can create nutrient-rich compost for your garden.
9/4/20253 min read
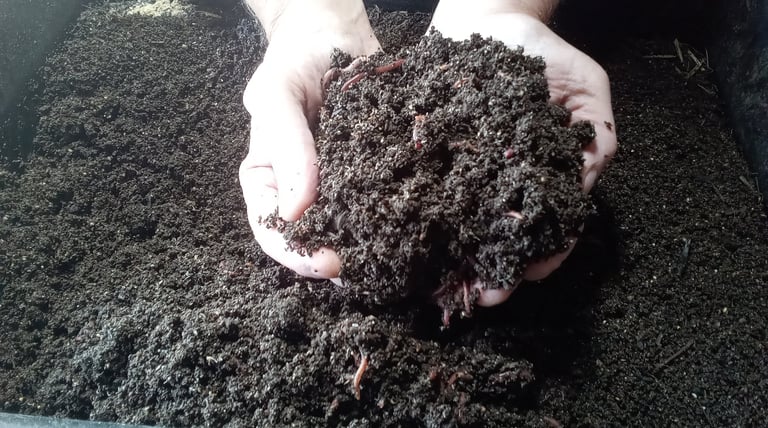
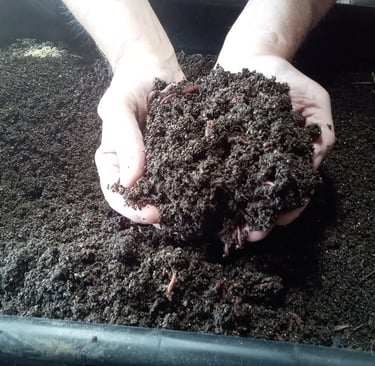
If you’ve been thinking about composting but don’t have the space—or want faster results—worm composting (also called vermicomposting) is the perfect solution. Worms transform food scraps into a nutrient-rich soil amendment that gardeners call “black gold.”
In this guide, I’ll walk you through the four essentials of worm composting so you can confidently set up your own system.
The Four Essentials of Worm Composting
Every worm bin relies on four key components:
Container (worm bin)
Bedding
Waste materials (worm food)
Composting worms
Once you understand these basics, you’ll be ready to set up your own bin.
Choosing a Worm Bin
There are several options for containers:
DIY bin from a plastic storage tote (most affordable).
Advanced bins with drainage and airflow features.
When choosing your bin:
Keep it dark – Worms are sensitive to light. Use an opaque container.
Go wide, not deep – A shallow bin with more surface area provides better oxygen flow.
Add airflow – Drill holes in the lid and sides. For extra protection against soggy bedding, drill a few drainage holes in the bottom and place the bin on a tray.
Bedding: The Worms’ Habitat
Bedding materials act as both home and moisture balance for your worms. Good options include:
Shredded cardboard or newspaper
Coconut coir
Fall leaves
Aged straw
Peat moss (less sustainable, so use sparingly)
Aim for moisture levels similar to a wrung-out sponge.
Pro tip: Mix bedding with moist food scraps and let it sit for a week before adding worms. This preps the bin with microbes—the real food worms love.
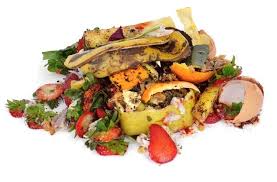
Feeding Your Worms
Not all scraps belong in the worm bin.
YES (in moderation):
Fruit & veggie scraps (limit citrus)
Bread, pasta, rice, potatoes
Coffee grounds & tea bags
Eggshells (crushed)
Aged animal manure
Shredded cardboard & paper
NO:
Meat, dairy, oils, or grease
Human/pet waste
Harsh chemicals
Plastics or non-biodegradables
For best results, allow scraps to partially decompose before adding them. Worms feed on the microbial soup that forms as food breaks down.
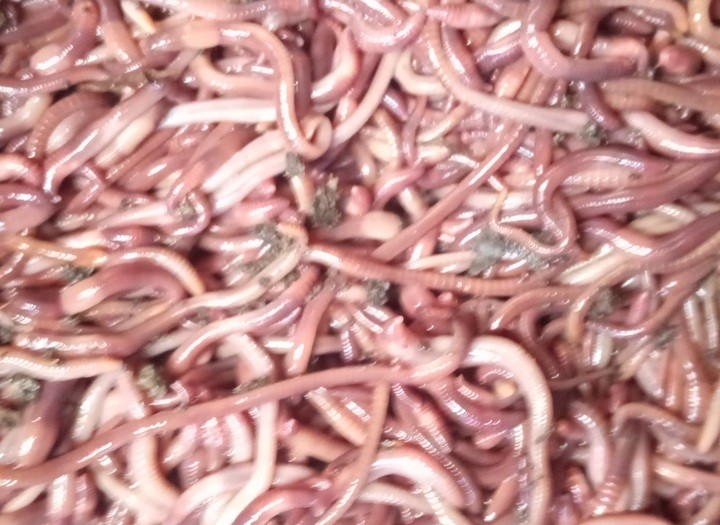
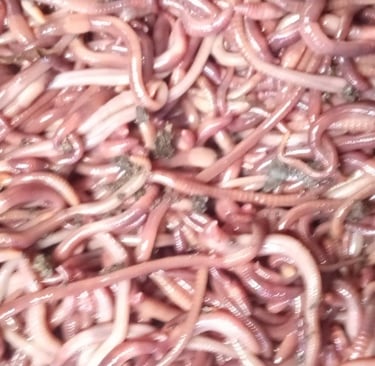
Composting Worms: Meet the Red Wigglers
Not all worms can handle composting. Ordinary earthworms won’t thrive in a bin—you need epigeic worms, which naturally live in rich organic matter.
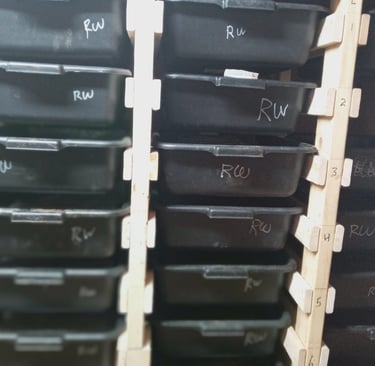
The best choice for beginners is the Red Wiggler
Thrives in warm, crowded conditions
Reproduces quickly
Efficient composters
They typically cost $50-$60 per pound, and just one pound is sufficient to establish a thriving colony over time.
Building & Setting Up Your Worm Bin
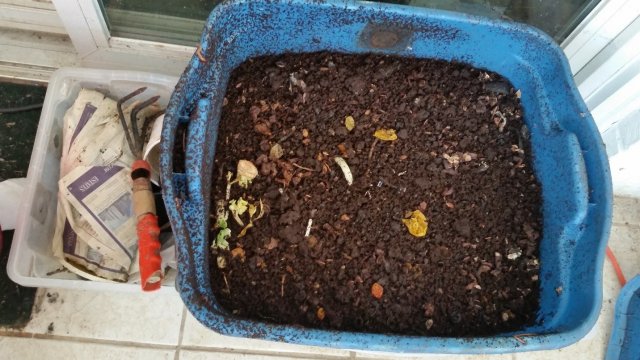
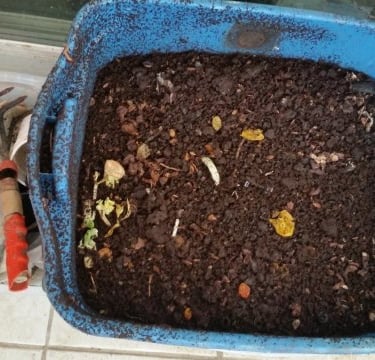
1. Basic Bin
A simple plastic storage tote with ventilation holes—affordable and effective.
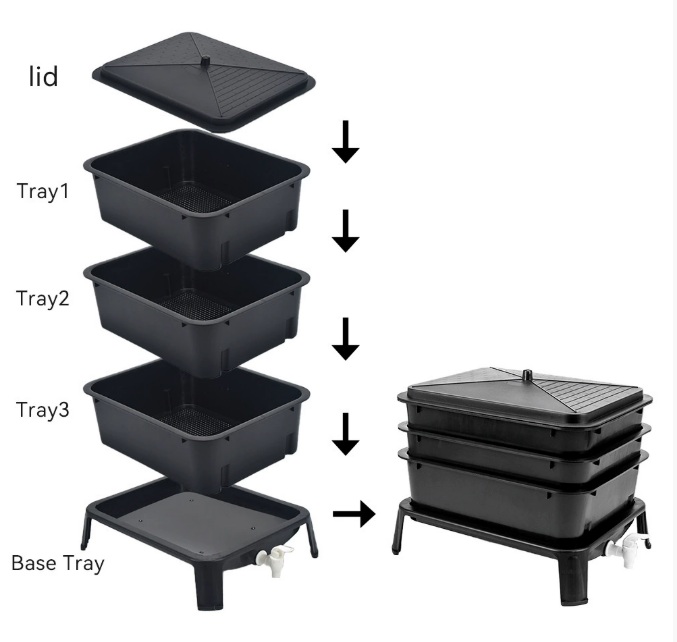
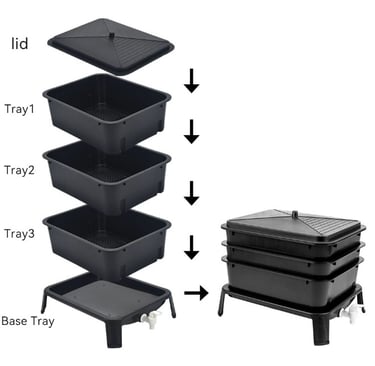
2. Deluxe Bin
A setup with a drainage reservoir to prevent soggy bedding and collect liquid compost (worm tea).
3. Open Systems
Best for advanced composters who prefer natural airflow and easy access.
Final Thoughts
With just four essentials—container, bedding, food scraps, and worms—you’ll be on your way to producing rich compost for your garden. Start simple, and as you gain experience, explore more advanced systems and feeding techniques.
Worm composting is easy, fun, and incredibly rewarding. Your garden (and the planet) will thank you!
✅ Ready to take the next step? Order your Red Wigglers today and start composting right at home!